New50 min
Orabake laden…
BEFORE YOU START
Prepare Springform pan
METHOD
STEP 1
Take a springform tin of 20cm diameter, cover the bottom with baking paper and grease the sides slightly with coconut oil.
STEP 2
Mix the dry almonds in the stand mixer for filling. Then add the (depit) dates and a pinch of salt and grind them to a sticky dough. Make your hands a little wet and then cover the bottom of the springform tin with this dough. Push it with your fingers all over the surface and then press it flat.
STEP 3
Rinse the soaked nuts and chop them finely into the stand mixer. Then add 50ml maple syrup, stevia, melted coconut oil, juice and grate of the lemon and vanilla paste. Mix very well and let run 1-2 minutes so you get a creamy whole. There will always be some pieces in the filling, but you want to keep that to a minimum.
STEP 4
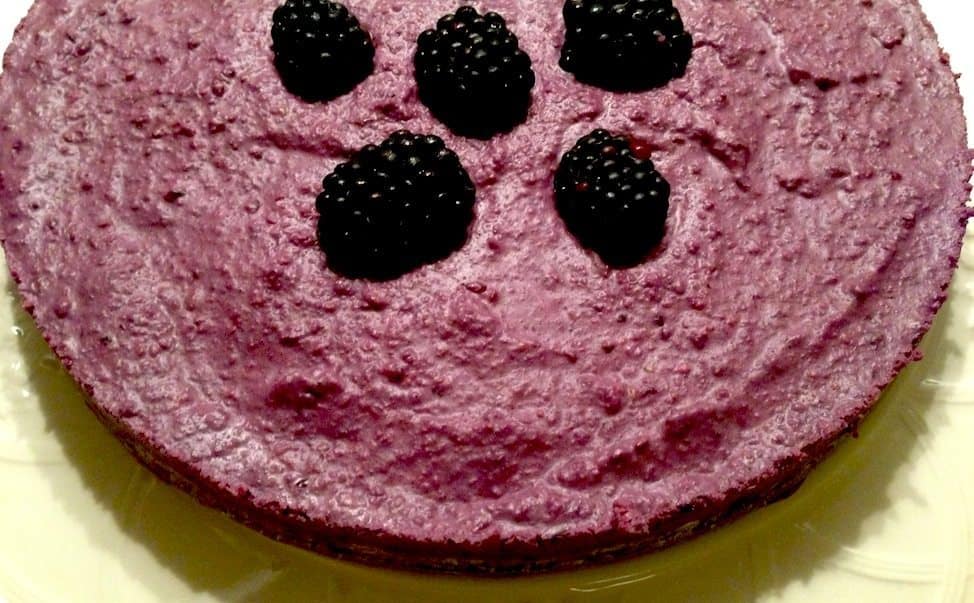
Last, add the blackberries (leave a few to serve) and grind them all finely through the filling. Then taste the filling and decide if you like it sweet enough. You can always mix some extra maple syrup.
STEP 5
Pour the filling in the cake tin and smooth it out. Decorate the cake with the remaining blackberries. Cover the springform tin with household foil and place it in the refrigerator for about 4 hours to harden well. And then enjoy. I like the cake best when it has been out of the refrigerator for 10 minutes and just starts to get a little soft.
STEP 6
There are some special ingredients on the list. Drive past the Turkish shop (almonds, cashews and dates) and the organic shop (ahorn syrup and coconut oil). By the way, did you know coconut oil is great to bake? I like to stir it and it's perfectly healthy for you. And don't be afraid that all your food will taste like coconut or smell like coconut. The smell and taste fades at high temperatures.
STEP 7
Thanks for the inspiration!
BAKING DETAILS
Francesca Kookt! was looking for the ultimate recipe for a lactose-free cheesecake. And she found it! Read all about it in this blog.
STORING & SERVING
COMMUNITY
QUICK REACTION
BAKED BY THE COMMUNITY
Made this recipe? Post your photo. The approved photo with the most hearts automatically becomes the main recipe photo.
Loading photos…
Loading reviews…