New65 min
Orabake laden…
BEFORE YOU START
Preheat to 200°C · 392°F
Prepare Springform pan
METHOD
STEP 1
Preheat the oven 200 degrees. Cover the bottom of a springform tin (which was mine) 24 cm, but 20/22 Also) with baking paper and butter afterwards both the baking paper and the sides generously with butter.
STEP 2
Crumble the shelters to fine. You can also use the stand mixer for this. Sprinkle the bottom and sides of the springform tin with some crumbs. You keep the rest.
STEP 3
Split the eggs. Stir the egg yolks with sugar and cinnamon to a smooth whole.
STEP 4
Mix the soft butter with the rest of the crumbs, applesauce, raisins, salt and egg yolks.
STEP 5
Beat the proteins stiff and spatula this quietly through the mixture. Don't stir too much, it just needs to be mixed.
STEP 6
Put everything in the spring form and bake the cake 1 Hour cooked and brown. This may look like this temperature for a long time, but it'll be fine. Because every oven works differently, check it yourself and do not set the cake too high. You can have the cake after 30/40 for minutes always cover with a piece of aluminum foil when the top threatens to get too dark.
STEP 7
Allow the cake to cool partially in the form before removing the edge. Maybe you should cut the side off with a sharp knife, like I did.
STEP 8
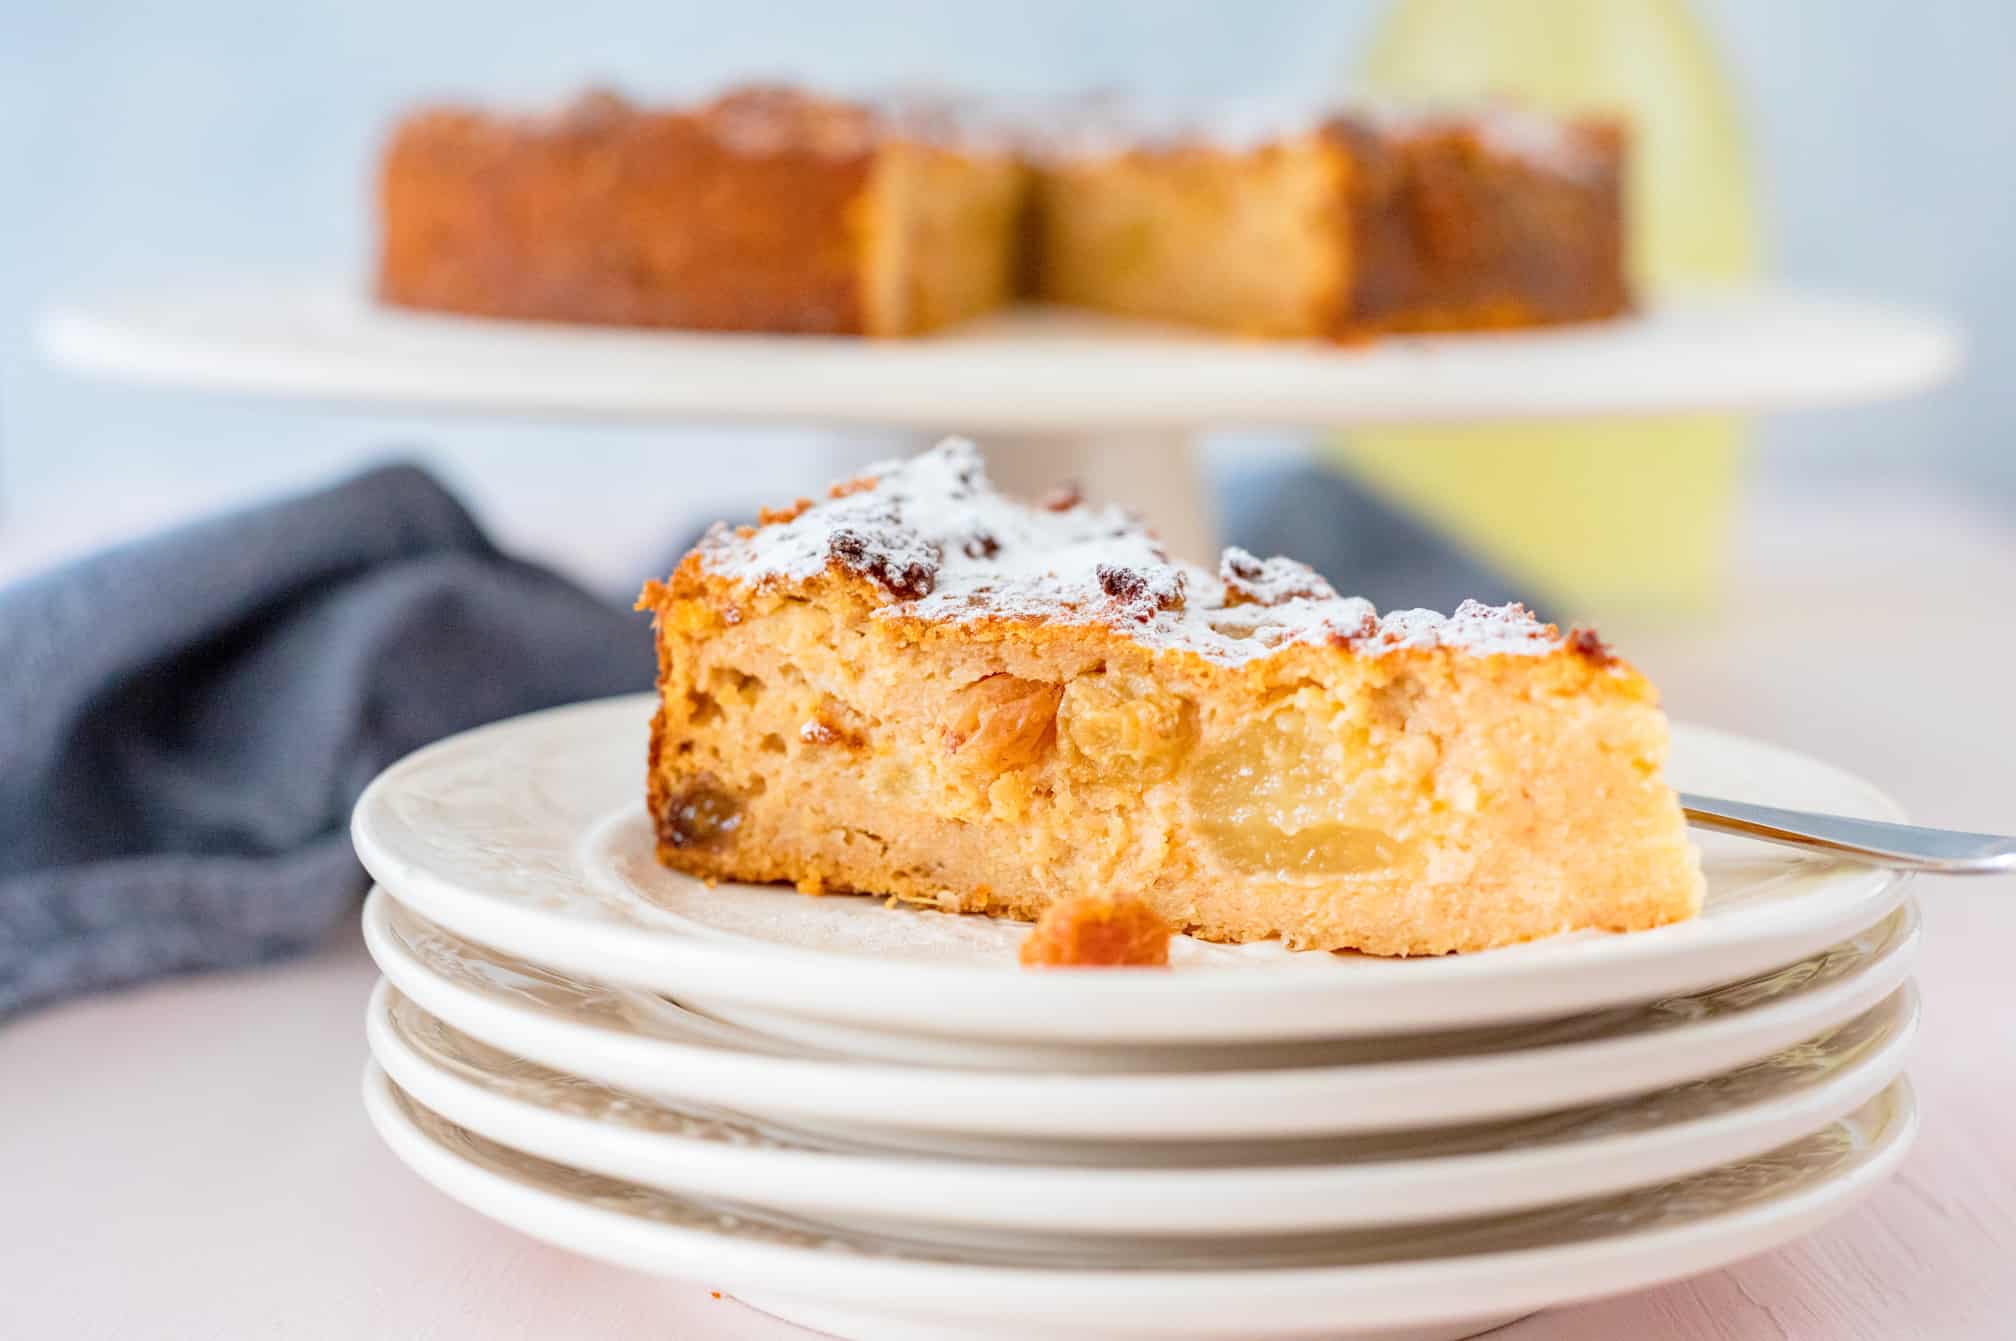
When the cake is completely cooled, remove the bottom. Serve the cake on a nice plate or cake plate and garnish generously with icing sugar.
BAKING DETAILS
A dish to never forget is this cobbler's tail that you make from rusks, applesauce and raisins. It's delicious!
STORING & SERVING
ALLERGENS
Milk · Egg
Always check product labels yourself if you have allergies.
Source or inspiration ↗MISSING AN INGREDIENT?
Try: Margarine · Neutral oil — when the recipe allows oil.
Try: Ground flaxseed — 1 tbsp with 3 tbsp water per egg · Apple sauce — unsweetened, only in suitable cake batter.
Substitutes can change flavour, texture or rise. If you have allergies, always check the label yourself.
COMMUNITY
QUICK REACTION
BAKED BY THE COMMUNITY
Made this recipe? Post your photo. The approved photo with the most hearts automatically becomes the main recipe photo.
Loading photos…
Loading reviews…