Vegetarian
New50 min
Orabake laden…
BEFORE YOU START
Preheat to 250°C · 482°F
METHOD
STEP 1
Mix all ingredients together in a bowl with a pollen spoon. Make sure everything is well mixed. Cover the bowl with holding foil and put a clammy tea towel on it.
STEP 2
Let the dough rise for 16 - 24 hours until it has doubled in volume and small dimples are visible at the top of the dough.
STEP 3
Spray your work surface with flour, including your hands, remove the dough from the bowl and put it down in front of you. This goes even easier with a doughstick, because the dough is quite sticky.
STEP 4
Clap the dough 1 double, turn the dough a quarter and clap the dough double again. Now form a ball of the dough and place it (with the seam down) on a sheet of baking paper, and sprinkle lightly with flour. Cover with a clean tea towel and let rise for another 2 hours.
STEP 5
During the last 20 minutes of the second row, preheat the oven to 250 degrees (lower and upper heat). While warming up, put your cast iron pan, including lid, already in the oven. Also place good oven gloves and 2 racks ready, so you will have everything at hand.
STEP 6
Get the bloody hot pan out of the oven and put it on a rack. Take the lid off and put it on the second rack. Remove the tea towel from your bread and lift the bread with baking paper and all. Place it carefully in the pan (still with the baking paper) and put the lid (with oven glove) back on the pan.
STEP 7
Place the cast iron pan, with lid, in the oven and bake the bread for 25 minutes.
STEP 8
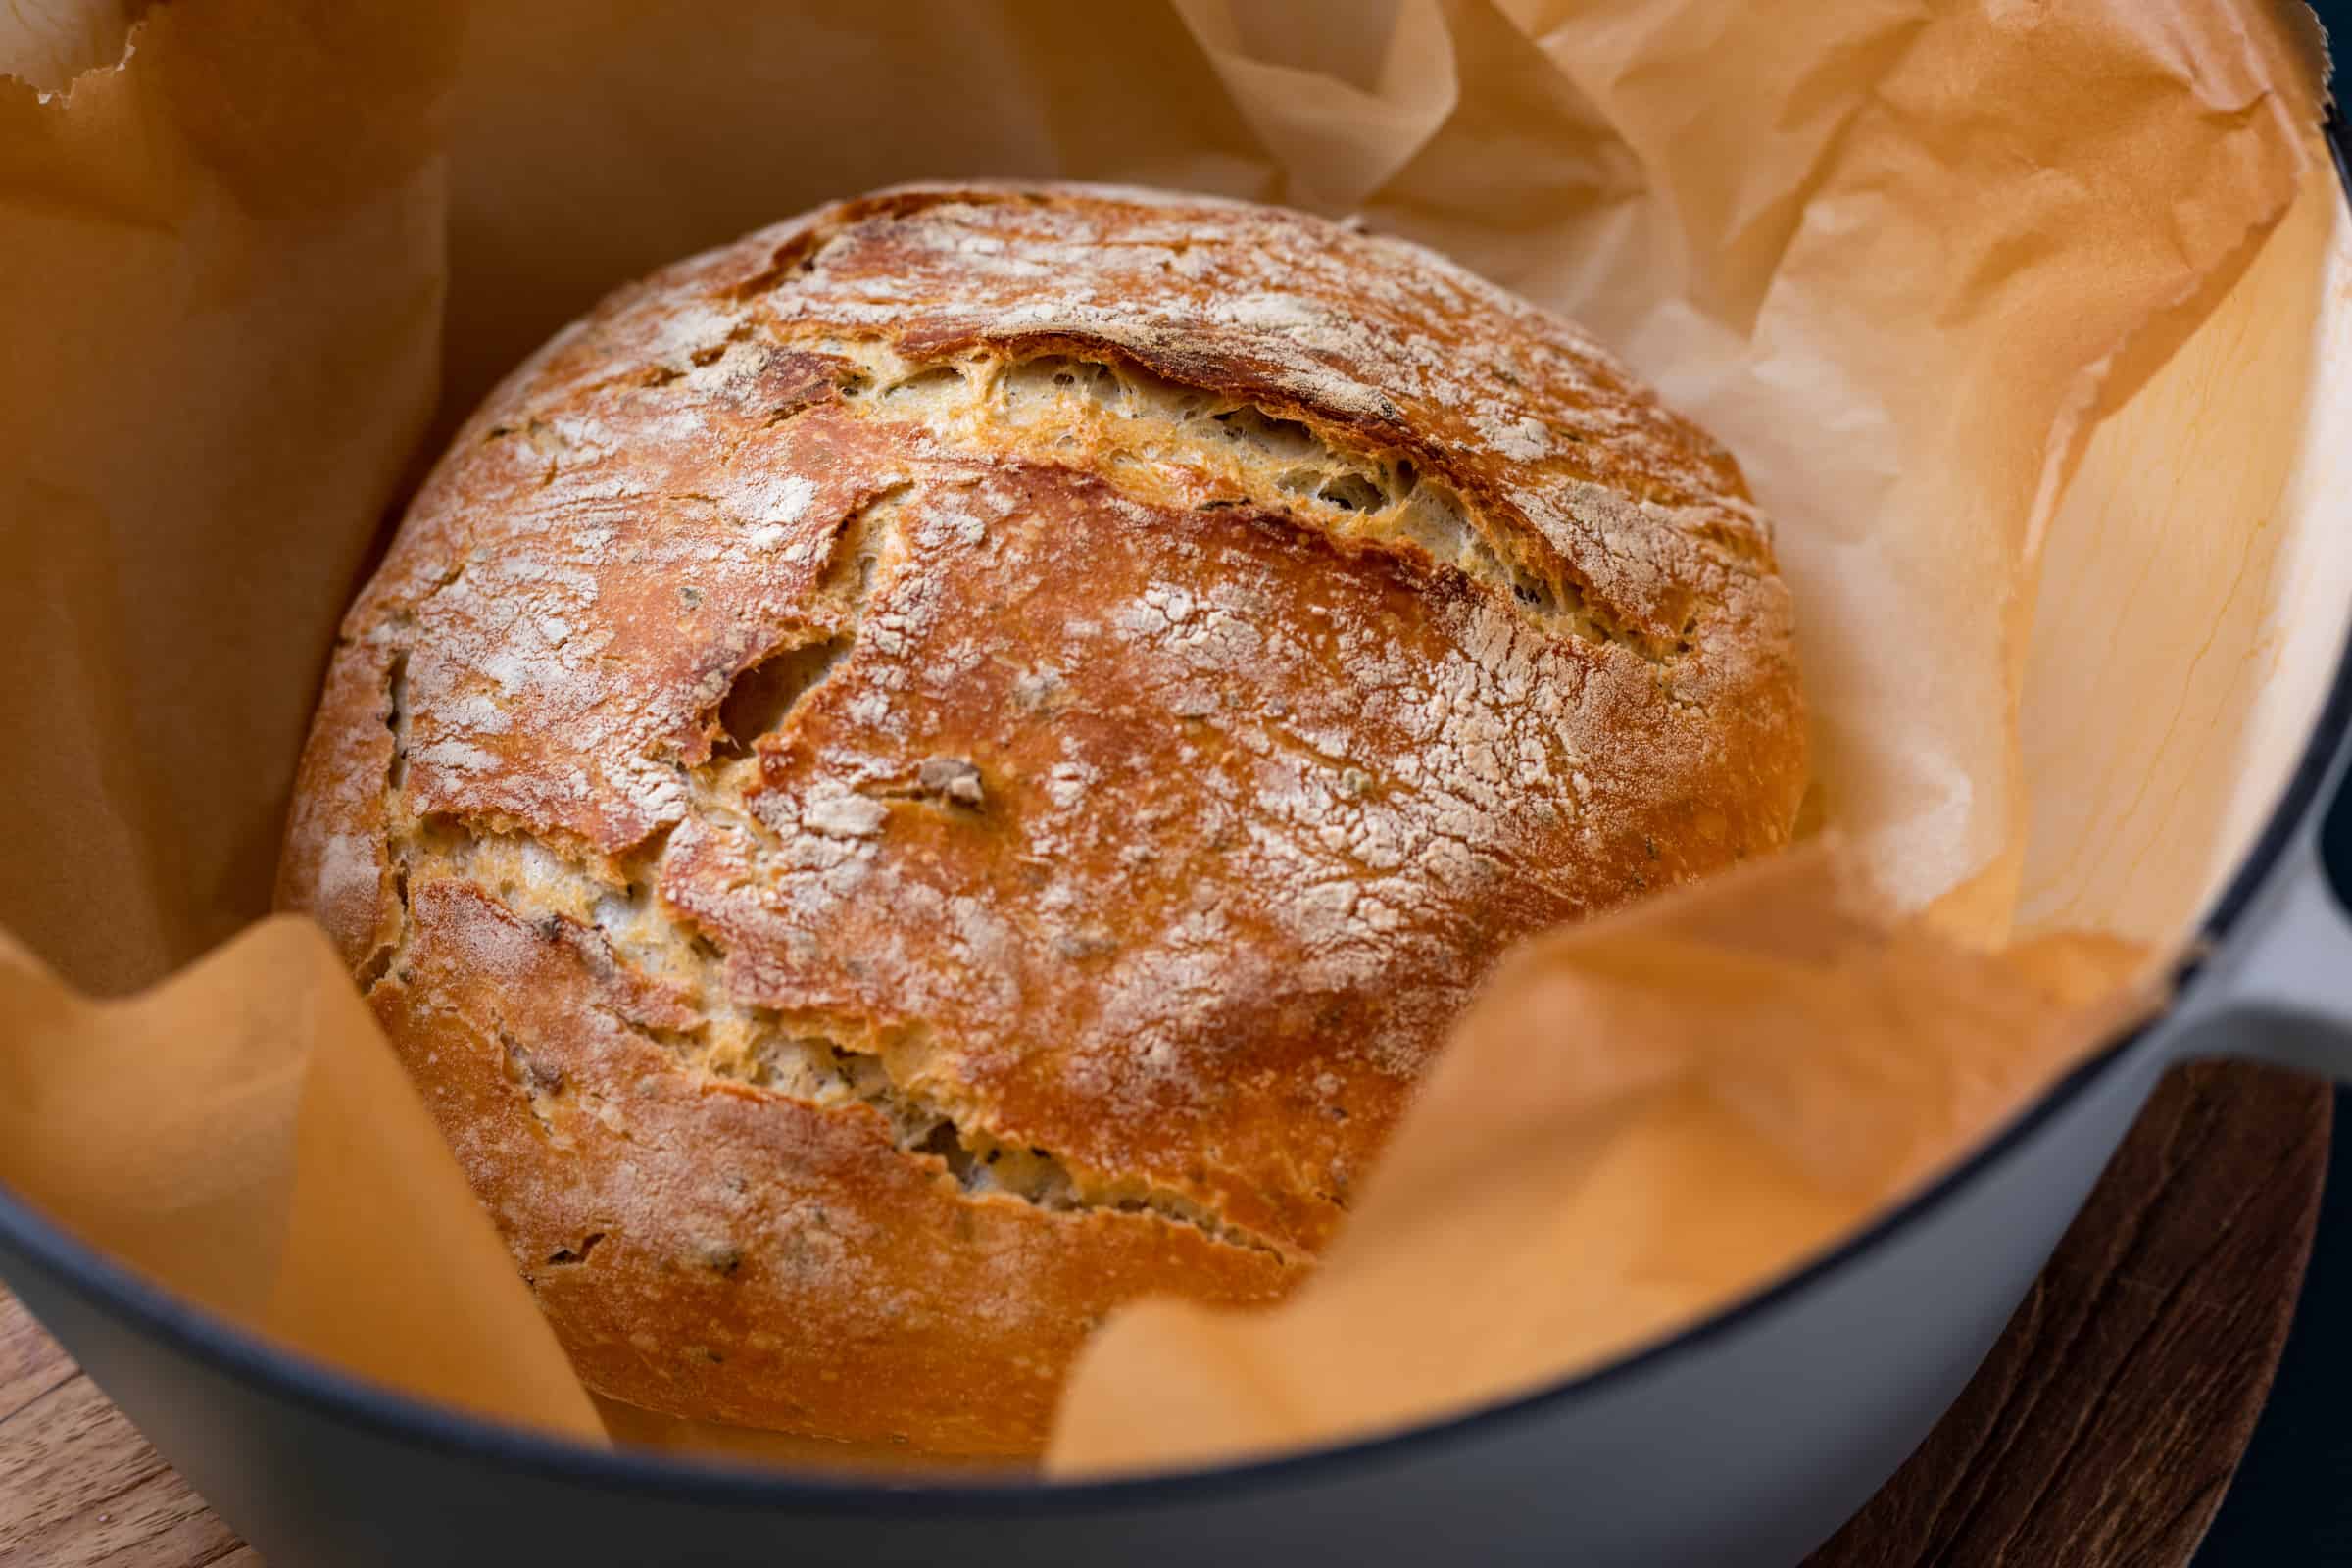
After 25 minutes gently remove the lid from the pan and bake the bread for about 10 to 15 minutes without a lid until the crust is nicely crispy and beautifully golden brown.
STEP 9
Tip: Every oven is different, also in height. Mine's pretty high so the top couldn't get too dark fast. But that varies from oven to oven. So keep an eye on the bread once the lid is removed
STEP 10
Remove the pan, very carefully with your gloves, from the oven and put on the grill to cool off. You can lift the bread from the pan using the tips of the baking paper. Place the bread on a wire rack to cool to an acceptable eating temperature. And then you can quickly cut off a piece of your no knee bread to taste. My first bite was with a lick of salted butter, what a party!
BAKING DETAILS
Making bread without kneading? Yes, you can! This delicious no knee bread with rosemary and garlic is easy to make yourself.
STORING & SERVING
COMMUNITY
QUICK REACTION
BAKED BY THE COMMUNITY
Made this recipe? Post your photo. The approved photo with the most hearts automatically becomes the main recipe photo.
Loading photos…
Loading reviews…