New40 min
Orabake laden…
BEFORE YOU START
Preheat to 190°C · 374°F
METHOD
STEP 1
Knock the 2 loose eggs with the ice-cold water in a bowl and put in the refrigerator until further use.
STEP 2
Strain the flour and salt (see my tip on the salt in the ingredients list) above the bowl of a stand mixer and add the cubes of butter. Pulse the stand mixer (with the cutting knife) until you get a crumb. Pulse further as you pour the egg mixture. Let the machine spin until the dough just comes together and then turn off. Make sure you don't run too long, because the more you do the dough, the more the gluten will work and that's exactly what you don't want. Landing
STEP 3
Tip: No food processor in the house? You can also make the dough by hand. Strain the flour and salt above a large bowl and add the cubes of butter. Now cut with 2 sharp knives cross the butter finely in the flour. You don't do this part with your hands, because then the butter gets too hot. Then crumble the flour with the butter with your fingertips. Do this quickly and, if necessary, keep your hands under the cold tap (dry off afterwards) to make sure that your ingredients
STEP 4
Spray your work surface lightly with flour. Get 1 part of the dough from the refrigerator and let something come to room temperature (takes 5 - 10 minutes), so you can roll it out better later. Pour the dough lightly with flour and roll to a slice of approximately 3 mm and large enough to cover your round cake tin including the edges of 4,5 cm + still 1 Inch overlapping. Place the rolled out slice in the shape and cut or cut (I always take the kitchen scissors, very handy) around with
STEP 5
Then you'll peel the apples and cut into thin slices of about 2 mm thick. Mix them in a large bowl with a little lemon juice against discolouring.
STEP 6
After peeling, remove the second part of the dough from the refrigerator to allow something to reach room temperature.
STEP 7
Mix the apple slices with the bark sugar, maple syrup, flour, corns and spices. Bring the bowl to the fridge.
STEP 8
Roll out the second part of the dough in the same way as at step 3. Only now the diameter becomes smaller, namely 24 cm + still 1 Inch overlapping. Because this is how you cover the apple pie.
STEP 9
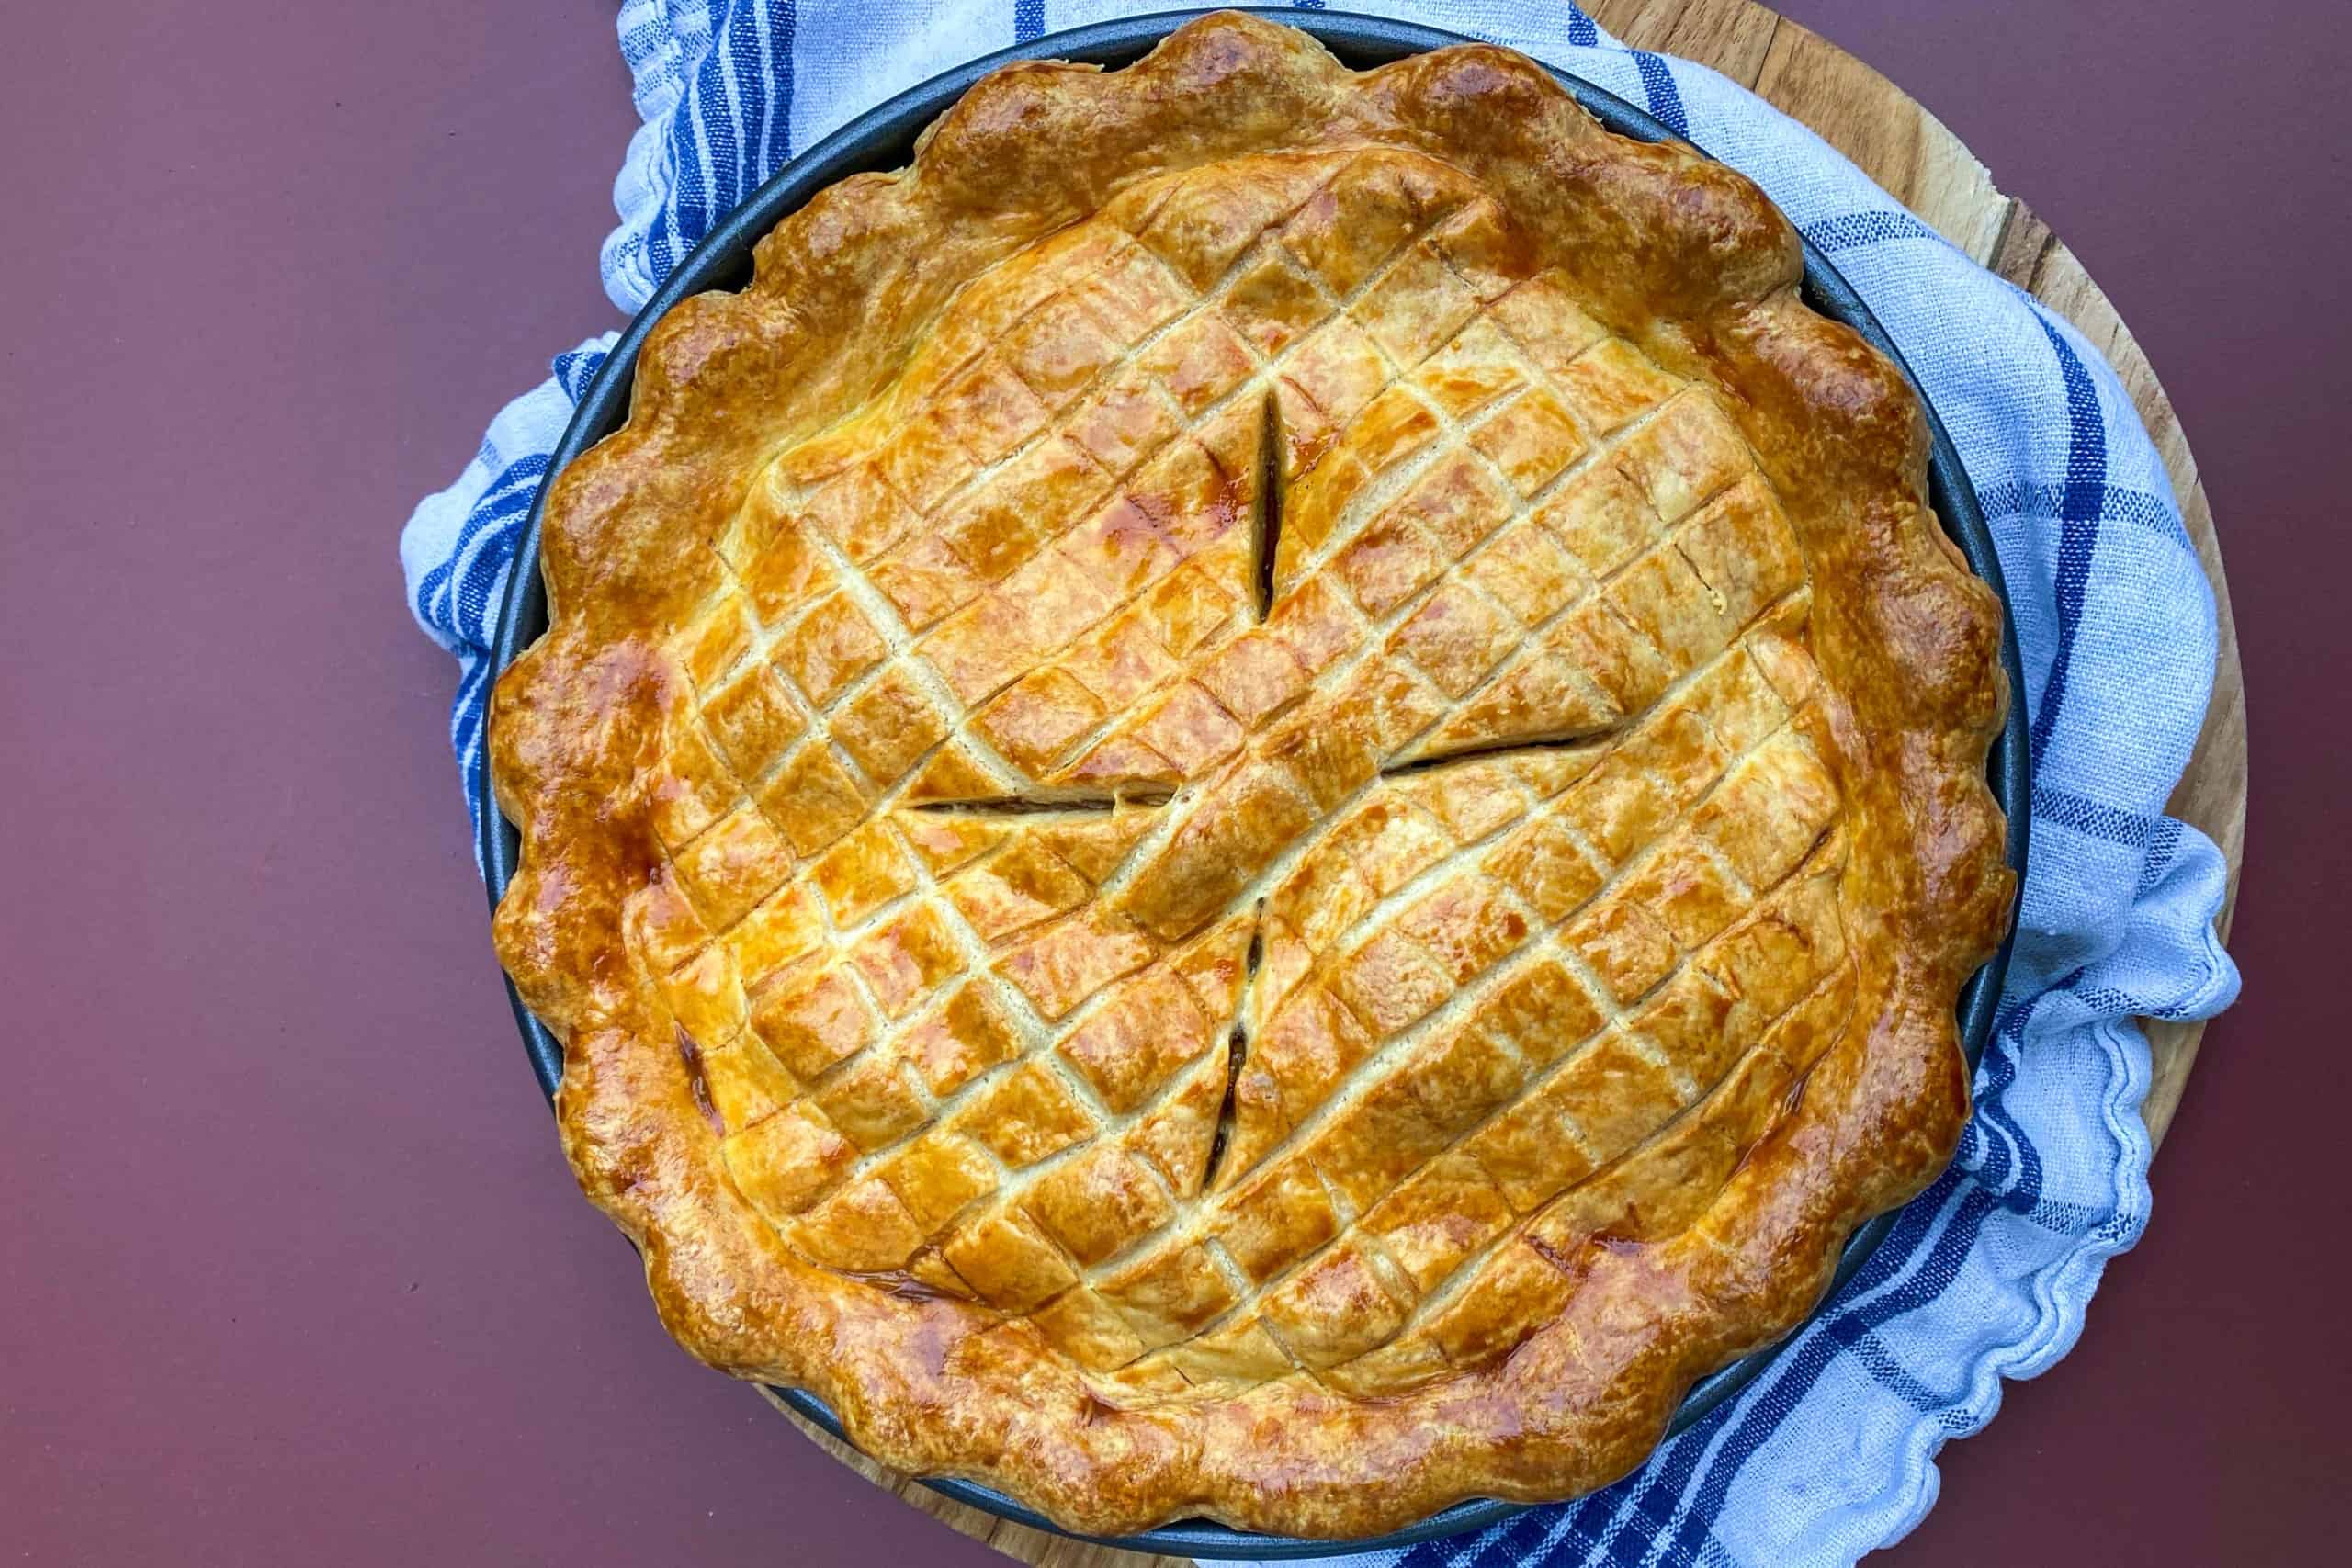
Remove the cake form from the refrigerator and fill evenly with the apple mixture. Place the second patch of dough with policy over it and cut around to the edge to maximum 1 Overlaps inches. Stop the edge of the top patch around the edge of the bottom dough. Make sure it is tightly closed and make even notches around with your thumbs for decoration. I made the grid pattern by making superficial cuts in the dough with a sharp knife (not through the dough please). In addition,
STEP 10
Knock the egg yolk loose with 1 cold water. Brush the top of the cake very lightly with this mixture, use a brush. Then put the cake tin again in the refrigerator to still 20 minutes to cool.
STEP 11
Meanwhile preheat the oven 190 degrees (lower and upper heat, hot air I would lower) and put a grid in the middle of the oven.
STEP 12
Place the cake tin after cooling in the oven and fry the apple pie approx. 60 minutes until the top has become beautiful brown and really good crispy. Because every oven works differently, you have to figure out for yourself what the ideal time is. Keep the cake the last 15 Let's keep an eye on this for a while. If you think the top is too brown, put a piece of aluminium foil over it.
STEP 13
Then remove the cake tin from the oven and place on a wire rack to cool off. I let it cool for an hour and then we ate it lukewarm. Amazing dessert too!
BAKING DETAILS
You want to make a real apple pie yourself? I got a great recipe for you! Includes homemade, crispy crust dough.
STORING & SERVING
ALLERGENS
Gluten · Milk · Egg
Always check product labels yourself if you have allergies.
Source or inspiration ↗MISSING AN INGREDIENT?
Try: Ground flaxseed — 1 tbsp with 3 tbsp water per egg · Apple sauce — unsweetened, only in suitable cake batter.
Try: Caster sugar — with a small drizzle of molasses · Coconut sugar.
Substitutes can change flavour, texture or rise. If you have allergies, always check the label yourself.
COMMUNITY
QUICK REACTION
BAKED BY THE COMMUNITY
Made this recipe? Post your photo. The approved photo with the most hearts automatically becomes the main recipe photo.
Loading photos…
Loading reviews…